
Last updated October 16, 2026
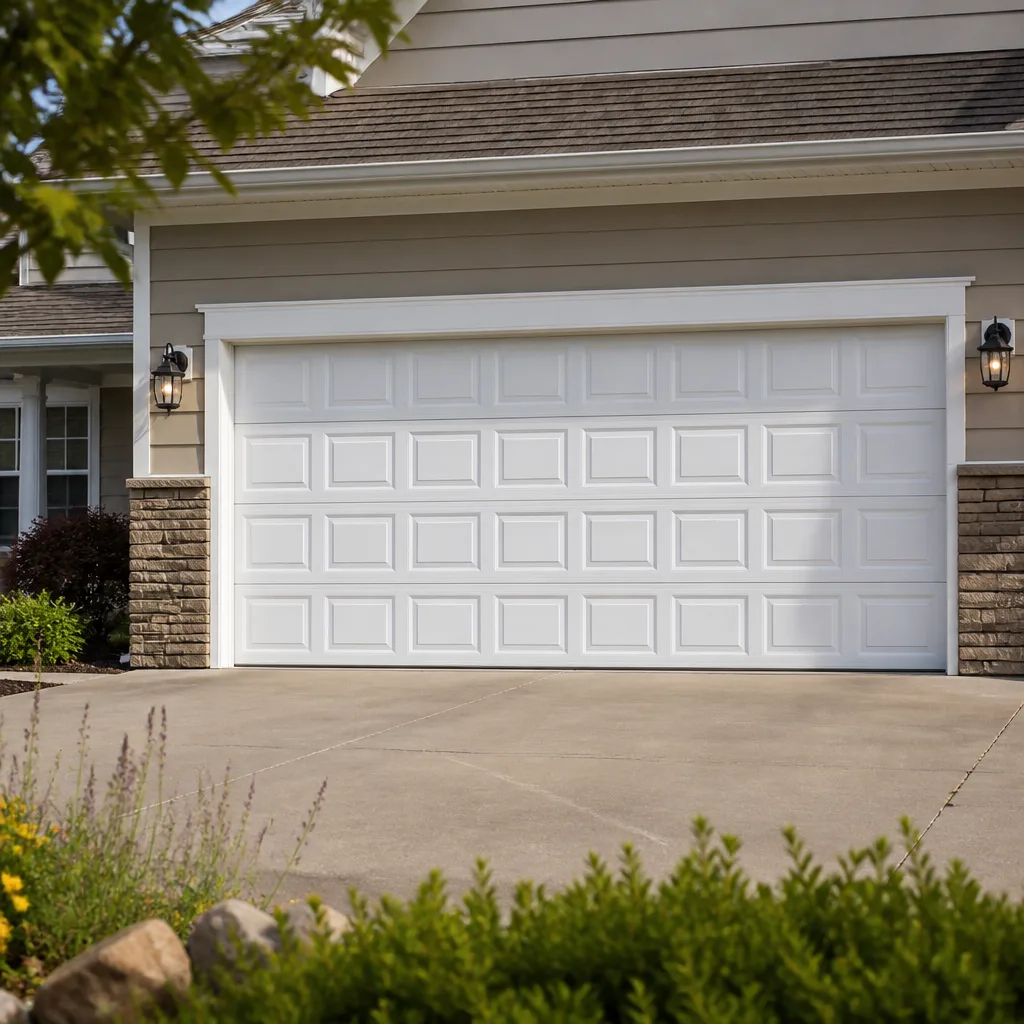 Raised-panel steel
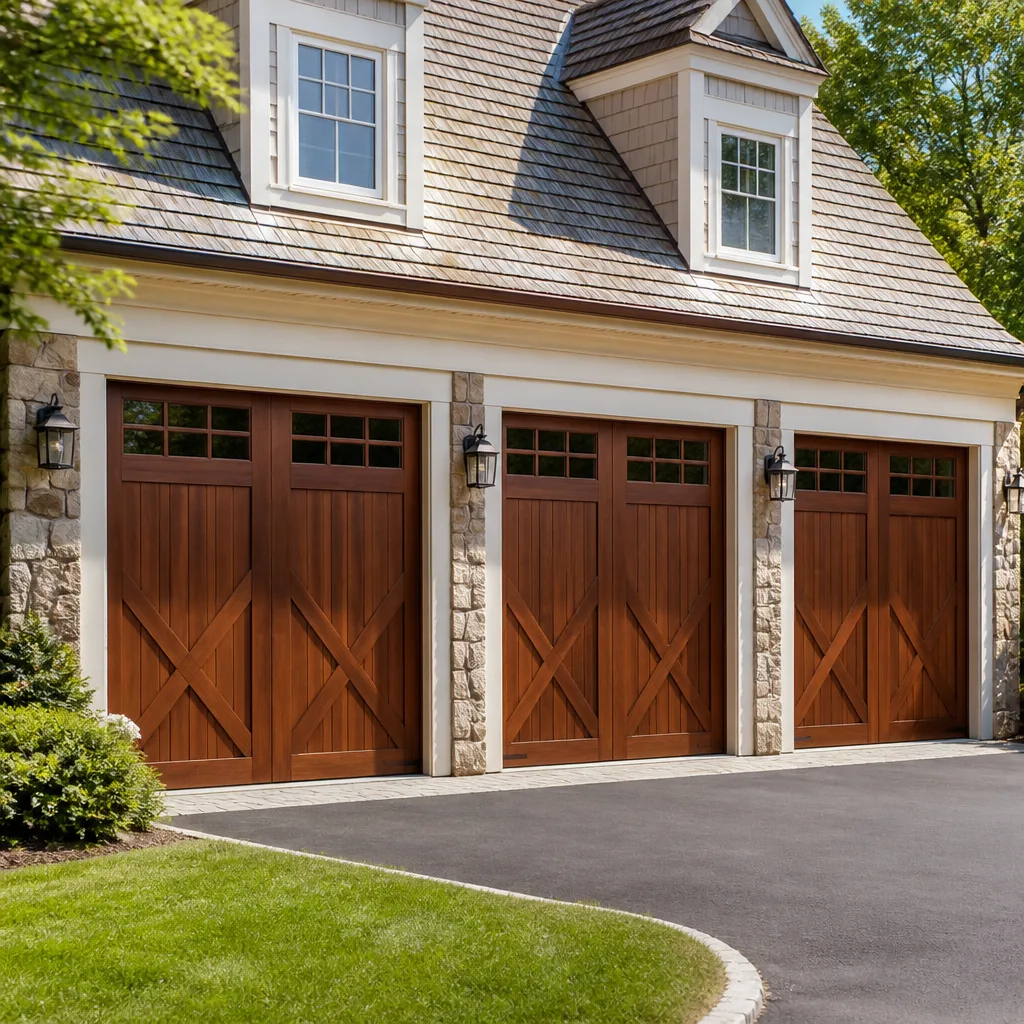 Carriage house
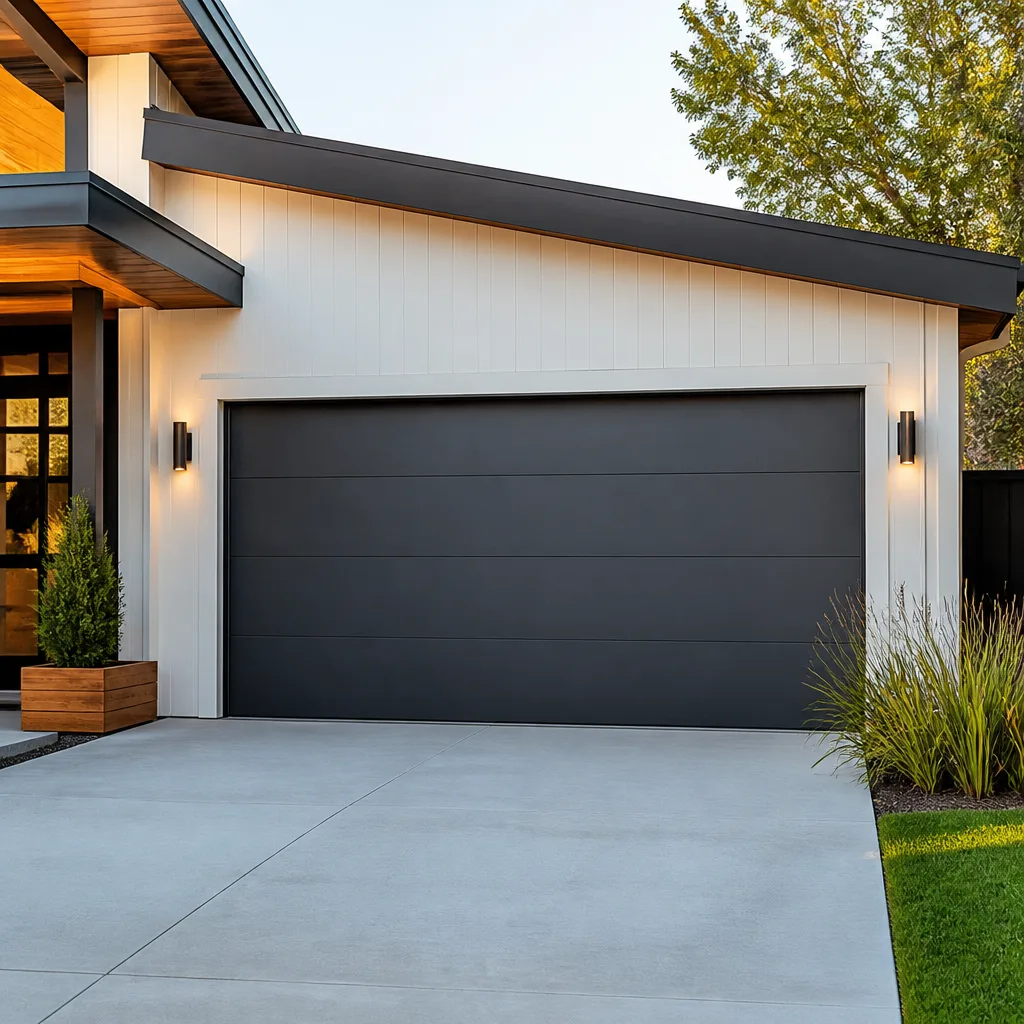 Modern flush
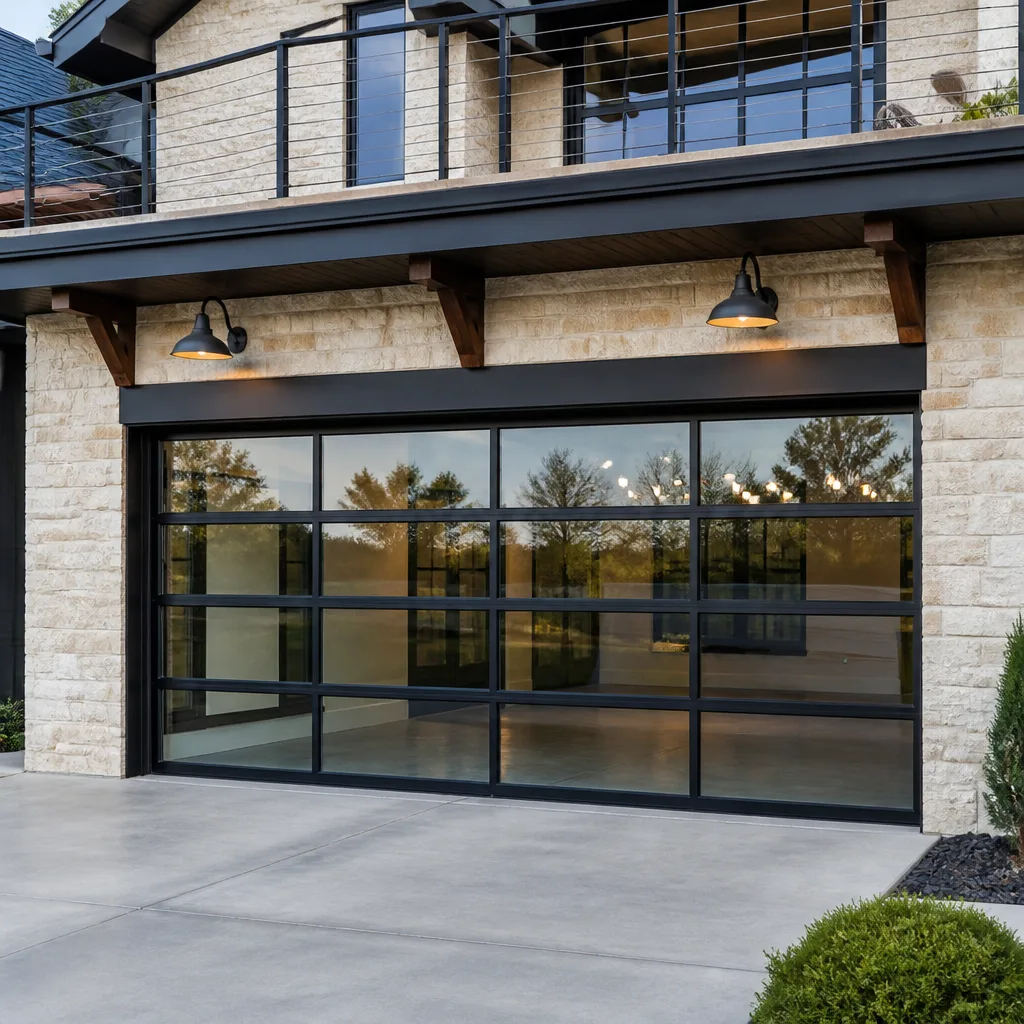 Full-view glass
 LiftMaster openers
 Chamberlain openers
Full 25-point door and opener safety check with every visit - springs, cables, rollers, tracks, and your LiftMaster or Chamberlain opener included
You get a price before we start. It does not change when the truck arrives.
Get your free estimateGarage Door Repair Maintenance Checklist for Torrance Homeowners
A garage door gives roughly six warning cycles before it fails completely. Not six days, not six weeks. Six open-and-close cycles where something sounds slightly off, moves a touch slower, or hesitates for a half-second before lifting. Most Torrance homeowners miss every single one of those warnings, which is why we created our Garage Door Warning Signs: A Torrance Homeowner’s Reference Guide to show exactly what to listen for. This checklist changes that. We built it around the exact 12-point inspection our technicians run on every service call in Torrance, translated into homeowner language with pass/fail criteria you can apply in your own garage. Run through it twice a year and you’ll catch about 80% of failures before they strand your car in the driveway.
Quick Answer
A garage door maintenance checklist for Torrance homeowners should cover six core tests: the balance test, the auto-reverse safety test, visual inspection of springs and cables, roller and hinge lubrication, track alignment checks, and noise diagnostics. Running these checks twice a year takes about 45 minutes total and prevents most common failures, including spring snaps and cable frays. Homes within two miles of the Torrance waterfront should add a monthly rust check on springs and cable fittings due to salt air exposure.
Styles & brands we work with
Table of Contents
- The Balance Test: The Single Most Important Check
- The Auto-Reverse Safety Test: The 2×4 Method
- Lubrication: What to Use, What to Skip, and Exactly Where It Goes
- Springs and Cables: The Torrance Coastal Rust Factor
- Rollers and Hinges: Identifying Wear by Sound and Sight
- Tracks and Alignment: Spotting The Slow Drift
- Noise Diagnostics: What Each Sound Means
- The Maintenance Log: What to Record and Why It Matters
The Balance Test: The Single Most Important Check
If you only do one thing from this entire guide, do this. The balance test tells you whether your garage door springs are doing their job or quietly dying. A properly balanced door weighs effectively nothing when you lift it manually. A door with failing springs feels heavy, drops fast, or creeps up on its own. In Torrance, where many homes still run original springs from 1990s construction in neighborhoods like Southwood and Seaside Ranchos, we see balance failures on roughly half of all doors over 12 years old.
Here’s the exact procedure:
- Close the garage door completely.
- Pull the red emergency release cord hanging from the opener rail. This disconnects the door from the motor. The cord typically hangs about 6 inches from the motor unit, toward the center of the door.
- Grab the door handle or bottom edge with both hands and lift to waist height, about 3 feet off the ground.
- Let go. Watch what happens.
Pass criteria: The door stays at waist height without drifting more than 2 inches in either direction. It should feel roughly weightless when you lift it, like it has a counterweight doing the work.
Fail criteria: The door drops more than 2 inches within 5 seconds, which means the springs have lost tension and are compensating less. If the door shoots upward on its own, the springs are over-tensioned, which is just as dangerous and will wear the opener motor fast. If the door feels heavy when lifting, like lifting a fully loaded suitcase, the springs are on their way out.
If the door fails the balance test, do not attempt to adjust the springs yourself. Torsion springs, the horizontal coils above your door, hold enough stored energy to cause serious injury. A spring under tension that releases unexpectedly is genuinely dangerous. Call Garage Door Spring Repair in Torrance for a professional assessment. Jaylen Ross and our team quote the replacement price before touching anything, so you’ll know exactly what it costs before the spring is even ordered.
The Auto-Reverse Safety Test: The 2×4 Method
Since 1993, every automatic garage door opener sold in the United States has been required by federal law to include an auto-reverse mechanism. The test is simple: the door should reverse immediately upon contacting a solid object while closing. Most homeowners have never performed this test once, let alone twice a year. We consider it the most overlooked safety check in any Torrance home.
The test uses a standard 2×4 piece of lumber laid flat on the ground directly under the door’s path:
- With the door fully open, place a 2×4 flat on the floor in the center of the door opening, directly where the bottom edge will land.
- Close the door using the wall button or remote.
- Watch whether the door reverses within 2 seconds of contacting the 2×4.
Pass: The door touches the board and reverses direction immediately, returning toward the open position. The opener light usually flashes as it reverses.
Fail: The door crushes down on the board and keeps pressing. Sometimes it reverses after 3 or 4 seconds, which is also a fail. The force setting is too high, and a child or pet in the doorway could be injured.
If the door fails, most openers from LiftMaster and Chamberlain have a force adjustment dial on the motor unit housing. Adjust it down slightly and retest. If the door now refuses to close at all, the force setting is too low, and the opener is working against a door that needs mechanical adjustment. That’s the signal to call a pro. Our Garage Door Repair in Torrance service handles opener recalibration and door balance as a combined fix, because they’re always related.
There is also a second safety system: the photoelectric sensors, or photo eyes, mounted 4 to 6 inches off the floor on either side of the door track. Wave your hand in front of one while the door is closing. The door should reverse immediately. Clean the sensor lenses with a dry cloth monthly, since Torrance’s dry coastal dust settles on them and gradually blocks the infrared beam.
Lubrication: What to Use, What to Skip, and Exactly Where It Goes
Every generic maintenance guide says “lubricate moving parts.” Almost none tell you which lubricant, which parts, and how much. We’ll be specific, because using the wrong product is worse than using none. Torrance’s mild climate means doors don’t face extreme cold, but the salt air near the coast accelerates corrosion on any unlubricated metal surface.
The two products you need:
- White lithium grease for hinges and rollers. It’s thick, stays in place, and doesn’t attract the same grit that oil does. A standard aerosol can costs about $8 to $12 at any Torrance hardware store.
- Silicone spray lubricant for tracks, springs, and the opener chain or screw drive. It dries clear, doesn’t get gummy, and won’t trap dust.
What you should never use:
- WD-40. It’s a solvent and water displacer, not a lubricant. It strips away existing grease and leaves metal surfaces drier than before. We see doors in Torrance that have been WD-40’d for years and the hinges are bone-dry and grinding.
- Penetrating oil. Great for loosening rusted bolts, terrible for keeping a door moving smoothly.
- Motor oil or grease. Too heavy, too messy, attracts dirt, and drips onto your car.
The exact application method:
- Apply white lithium grease to each of the door’s hinges. You’ll find 10 to 14 hinges depending on the number of panels. A 1-second spray on the hinge pivot point is enough. Wipe excess with a rag.
- Lubricate the rollers. If your rollers have metal bearings inside (you’ll see a small circle in the center of each wheel), spray the bearing area. If the rollers are solid plastic, apply a light coat to the stem where it enters the hinge bracket.
- Spray silicone lightly along the inside of both vertical tracks and the horizontal track. The goal is a thin film, not a wet surface. No drips.
- Spray silicone across the full length of the torsion spring above the door. Go slowly so the spring absorbs a light coat. Do not touch the spring while spraying.
- If your opener uses a chain drive, apply silicone to the chain while the door is open. If it uses a screw drive, apply silicone to the threaded rod.
Do this every six months. For homes in Torrance’s coastal zones, South Redondo-adjacent neighborhoods, or anywhere within about two miles of the water, we recommend lubricating every four months. Salt air eats through protective films faster than the inland neighborhoods like Walteria or Old Torrance ever experience.
Springs and Cables: The Torrance Coastal Rust Factor
Torrance sits close enough to the Pacific that rust is a real, measurable variable in garage door longevity. Homes within two miles of the waterfront, from the Avenues down to South Torrance, get regular marine layer exposure. That fine salt mist settles on everything in an open garage. Over time, it creates surface rust on torsion springs and cable fittings that inland homes simply don’t see at the same rate.
Here’s what to inspect monthly if you’re in that coastal band:
- Torsion spring surface rust. Light orange discoloration is cosmetic. Flaking or pitted rust is structural. A pitted spring is a spring that will snap, often without warning, usually when the door is fully open and the spring is under maximum load.
- Extension spring rust. If your door runs on two long springs stretched along the horizontal tracks (common on older Torrance homes, less common on newer builds), check both springs and their safety cables. The safety cable runs through the center of each spring. If it’s rusted or missing, a snapping spring becomes a projectile.
- Cable fittings and bottom brackets. The steel cables that lift the door connect to brackets at the bottom corners. Check the connection point for rust, fraying cable strands, or loose hardware.
- Door panel seams. Steel doors occasionally rust along the bottom panel seam where moisture sits. Surface rust is a cosmetic issue, but kept untreated, it will spread.
If you see any cable with broken strands, do not operate the door. A cable with 3 broken strands will fail under tension, and the door will slam down on one side. This is a Garage Door Cable Repair in Torrance situation. Our techs carry replacement cables for Wayne Dalton, Craftsman, Raynor, and LiftMaster systems on the truck, so the fix happens in one visit.
Cable and spring inspection is non-negotiable for safety. Both components operate under enough tension to cause catastrophic failure if they let go. We always recommend scheduling Garage Door Repair with a professional rather than hands-on adjustment. A visual check from 3 feet away is fine. Touching a loaded torsion spring or a frayed cable is not.
Rollers and Hinges: Identifying Wear by Sound and Sight
Garage door rollers are like tires. They wear out, and they wear out faster when they’re misaligned or underlubricated. Most rollers last 5 to 7 years in regular use, which for a Torrance homeowner means roughly 10,000 to 15,000 open-close cycles. The problem is that people only notice rollers when they fail catastrophically, usually by snapping off and jamming the door in its tracks.
What to look for visually:
- Flat spots. A roller that has worn unevenly will have a flat edge instead of a round profile. You’ll see it on the wheel surface. The door will make a rhythmic thumping sound as that flat spot rotates.
- Wobble. Grab the roller stem and try to wiggle it side to side. Any movement beyond 1/8 inch means the bearing is worn.
- Black residue. A fine black powder on the roller or the track means the nylon wheel or metal bearing is grinding itself down.
- Bent hinges. The hinges that connect door panels should look flat and tight. A bent hinge forces the roller into the track at an angle, which wears both parts fast.
What to listen for:
- Squeaking. Dry metal-on-metal contact. Lubricate. If the squeak persists after lubrication, the bearing is shot.
- Grinding. This is more serious than squeaking. It means the bearing has failed or the roller is scraping against the track side. Lubrication won’t fix a grinding roller.
- Rolling rumble. A low rumble that only happens when the door moves usually points to a flat-spotted or cracked roller wheel.
Replacing a roller is a simple job if you have the right tools and the door is properly braced. However, the bottom rollers on many doors are attached to cables under tension. If you remove the wrong bracket, the cable can whip free. For bottom rollers and any roller on a door with extension springs, call a professional. For top rollers on a torsion spring door, a confident DIYer can manage with a pry bar and careful bracing. When in doubt, the Marlow Garage Door Repair Torrance home team does a full 12-point check including all roller replacement in a single visit. You’ll see the written price for the full scope before we start.
Tracks and Alignment: Spotting The Slow Drift
Garage door tracks don’t bend suddenly. They drift. Over years of daily cycles, slight frame settling in a Torrance home, a loose bolt here, a worn bracket there, the track gradually moves out of parallel. The door starts scraping, then binding, then jamming. By the time the owner notices, the fix is more involved than a simple adjustment.
How to check track alignment:
- Look at the gap between the door edge and the track. On both sides, at the bottom, middle, and top of the door, there should be a consistent gap of roughly 1/4 to 3/8 inch.
- Run your eyes up the vertical track. It should be perfectly vertical. A slight tilt inward or outward means the bracket has loosened or the garage floor has settled.
- Check the horizontal tracks where they meet the curve. The door should roll through the curve without the top panel tilting or scraping.
- Inspect every track bracket for tightness. Brackets are bolted to the wall or ceiling, and a loose bracket is the most common single point of failure.
What you’re looking for:
- Shiny metal on the inside edge of a track. That’s contact wear from the roller scraping against the track. A small amount of contact polish is normal. A pronounced groove or worn channel is not.
- Door panels that tilt or flex while moving. The door should lift flat and evenly. Any tilting indicates the track on one side is binding.
- Garage door opener strain. If the opener motor sounds like it’s working harder than it used to, the track could be fighting the door, and the motor is burning itself out compensating.
Loose track bolts can be tightened with a socket wrench. But if the track is visibly bent, kinked, or the vertical section has drifted more than 1/4 inch out of parallel, the adjustment needs to account for the entire door geometry. Hammering a track back into place almost always makes it worse. This is a two-person job with precision measurements, and it’s exactly the kind of thing covered by a professional Garage Door Repair in Torrance visit.
Noise Diagnostics: What Each Sound Means
Your garage door talks. Most Torrance homeowners just don’t know the language. Here’s a translation for every noise a garage door makes, in our experience across 20-plus years of service calls from North Torrance to the Avenues:
- Squeak. Dry hinge or roller bearing. Lubricate. If it doesn’t clear up in a day, bearing wear is the culprit.
- Grind. Metal-on-metal contact. Usually a failed roller bearing or a track that’s out of alignment. Needs attention now.
- Pop or snap during operation. A cable has slipped off a pulley, or a section of a torsion spring has snapped. The loud snap followed by a door that won’t open is the classic spring failure signature.
- Rumble or vibration. Worn rollers, a loose track bracket, or an opener motor that’s struggling against a stiff door. Check rollers first.
- Metallic scraping. Track-to-roller contact. Check for shiny grooves in the track and adjust or replace the affected roller.
- Thumping. A flat-spotted roller or a bent track section. The sound repeats at the same point in the door’s travel every time.
- Door banging on open or close. The door is overshooting its limit settings. Adjust the opener’s up and down travel limits. On modern LiftMaster and Chamberlain openers, this is done through the wall control panel.
One useful trick: stand at the center of your garage with the door opening, then closing. Close your eyes. The door should sound the same on both sides. If it’s louder on one side, the issue is localized to that side’s roller, hinge, or track. That half of the diagnostic is free and takes 30 seconds.
The Maintenance Log: What to Record and Why It Matters
The single most valuable habit, and the one almost nobody has, is keeping a running log of garage door maintenance. Here’s why it matters. When a technician arrives at a Torrance home for a repair call, we’re starting from zero. We don’t know what’s been lubricated, what’s been replaced, what sounds the owner has been ignoring for six months. A log changes that. It shows us the trend.
What to record after every maintenance session:
- Date of the check
- Balance test result (pass or fail, and what the door did)
- Auto-reverse test result (pass or fail, and any force adjustment made)
- Lubrication completed (which parts, which product)
- Visual findings on springs, cables, rollers, tracks
- Any new noises you’ve noticed and when they started
- Any repairs or part replacements performed
Keep it in a simple notebook or a note on your phone. The format doesn’t matter. The consistency does. When you hand this to a technician, the diagnosis time drops dramatically. We can see that the balance test passed in March but failed in September, which tells us the spring has been losing tension for six months, not six days. That’s the difference between a quick spring replacement and a multi-day diagnosis involving the door, the opener, and the track geometry.
For Torrance homeowners in older neighborhoods, especially those with original 1990s or early 2000s doors in communities like Southwood Riviera or Walteria, the log is genuinely valuable. These doors are reaching the age where multiple components fail in sequence, and having the history makes each repair faster and cheaper; for help finding qualified help, see our How to Hire a Garage Door Contractor in Torrance: A Step-by-Step Guide.
Common Mistakes to Avoid
- Lubricating the track to fix a noisy door. Tracks don’t need lubrication. The grease attracts dirt, builds up on the rollers, and makes the door louder over time. Lubricate the rollers and hinges, not the track channel.
- Using WD-40 on everything. We covered this, but it’s worth repeating. WD-40 strips proper lubricant and leaves hinges drier than before. It’s the most common mistake we see in Torrance garages.
- Ignoring the auto-reverse test because it “seems fine.” The force setting drifts over time. A door that was safe five years ago may not be today. The 2×4 test takes 30 seconds and it’s the only way to actually know.
- Trying to adjust torsion springs without the proper winding bars. This is the most dangerous DIY garage door task. Torsion springs store enough energy to break bones or worse if the winding bar slips. A spring under tension is not a learning opportunity.
- Disconnecting the opener with the door open. Always run the balance test with the door closed. If you disconnect an opener while the door is open and the springs are weak, the door will drop hard and can cause injury.
- Skipping the visual rust check in coastal Torrance. A monthly look at the springs and cables takes one minute. Pitted rust on a torsion spring is a failure waiting to happen, and catching it early means a planned replacement instead of a snapped spring and a stuck door.
- Replacing the opener when the door is the problem. When a door is stiff and unbalanced, the opener motor works harder and eventually burns out. Replacing the opener without fixing the door means you’ll replace the opener again in a few years. Check the balance first, always.
See the difference
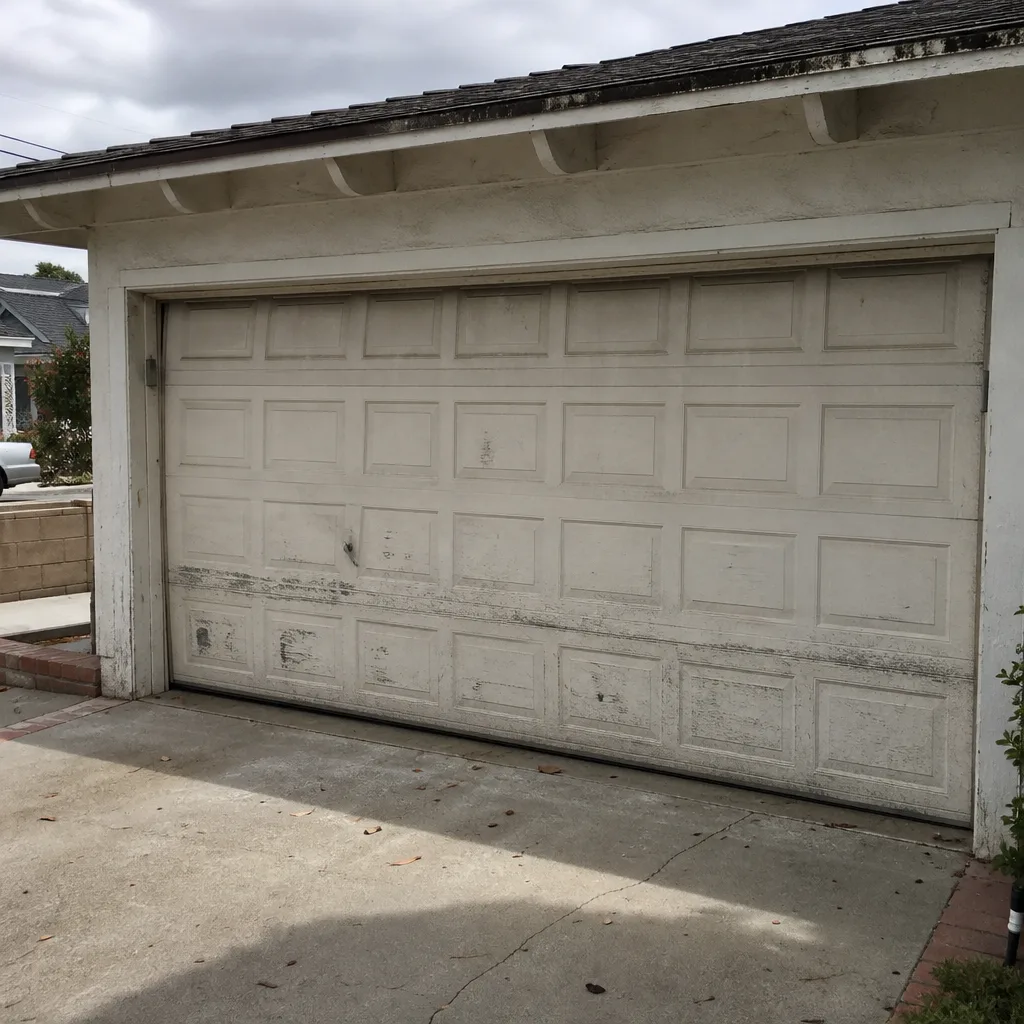 Before
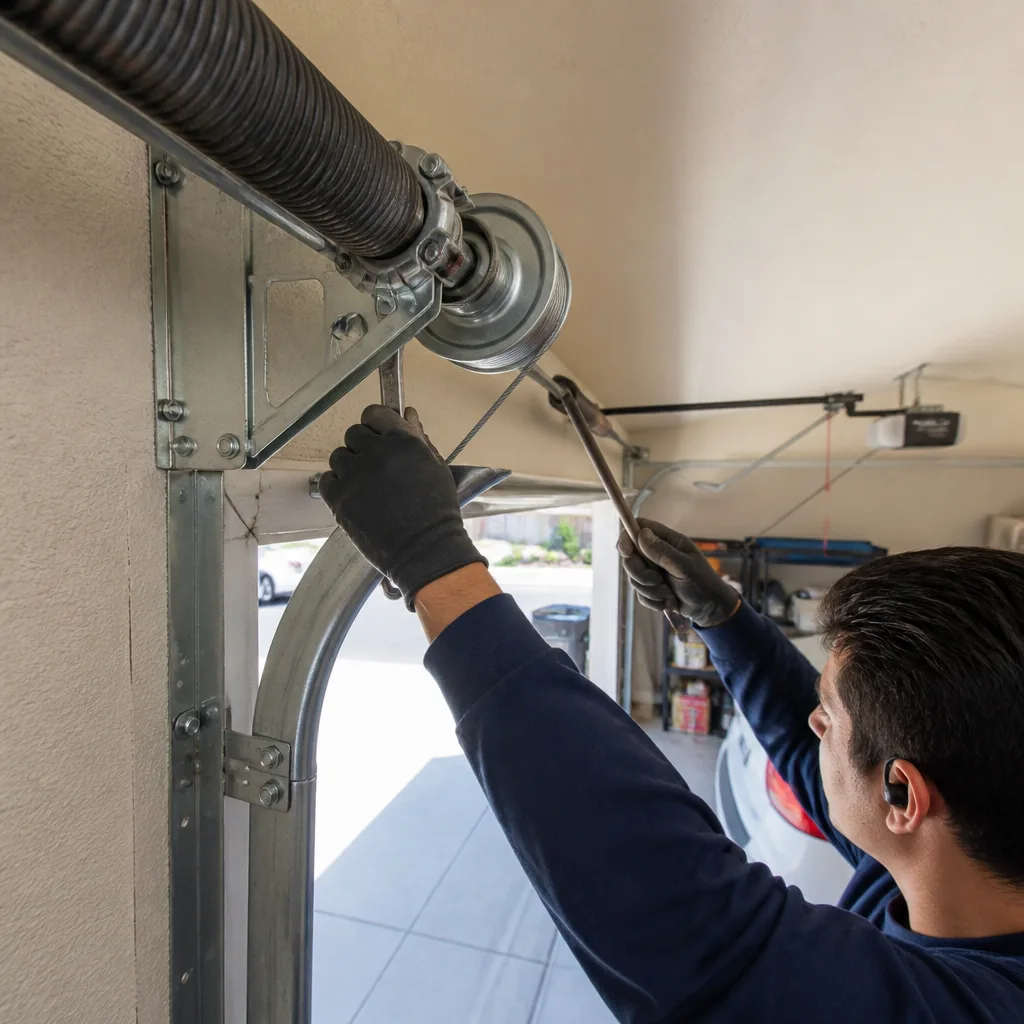 After
After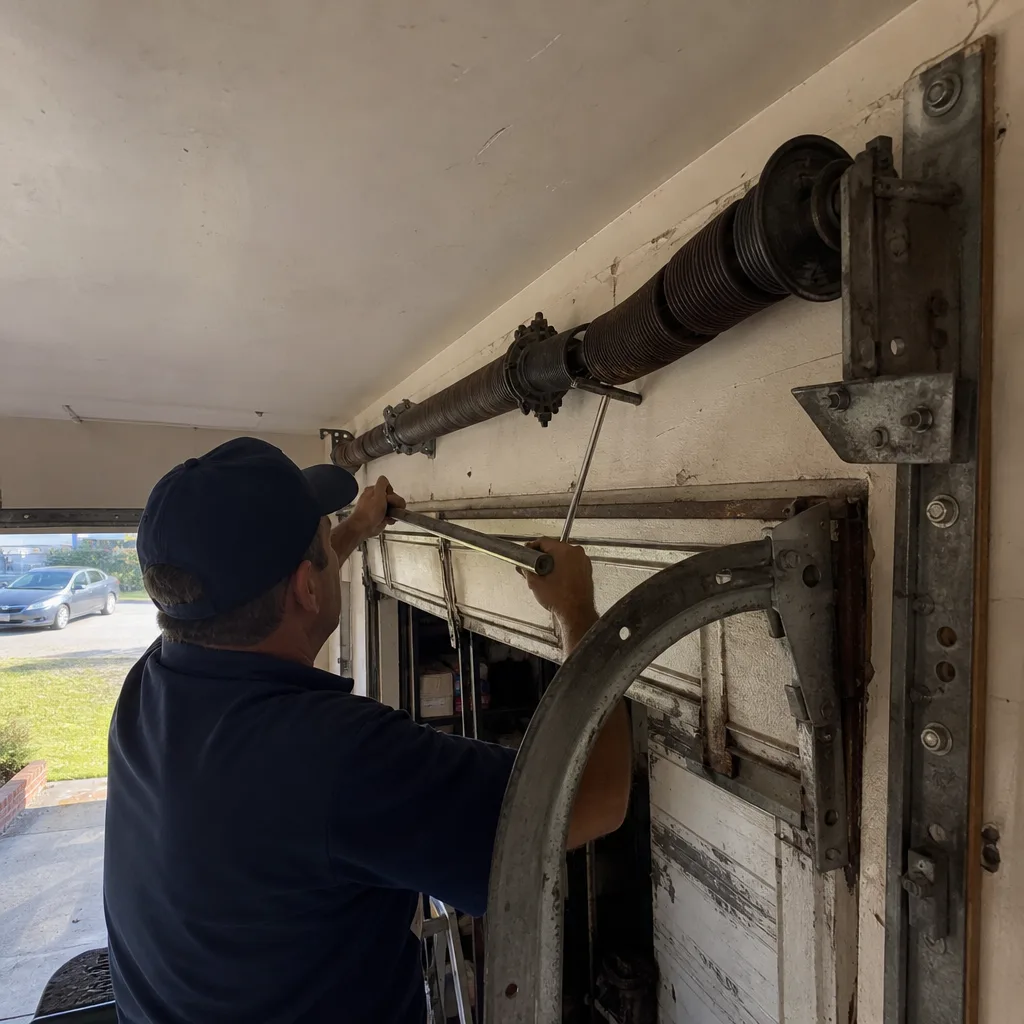 Before
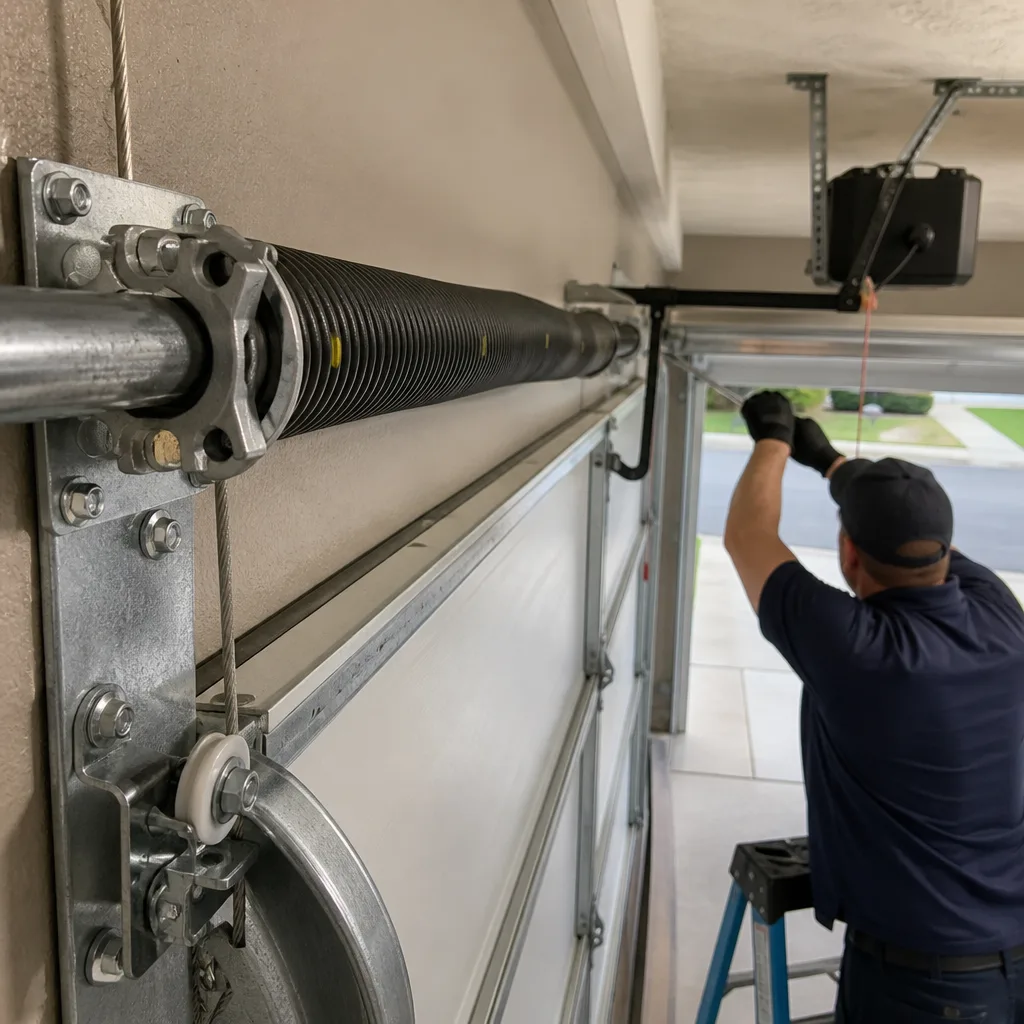 After
After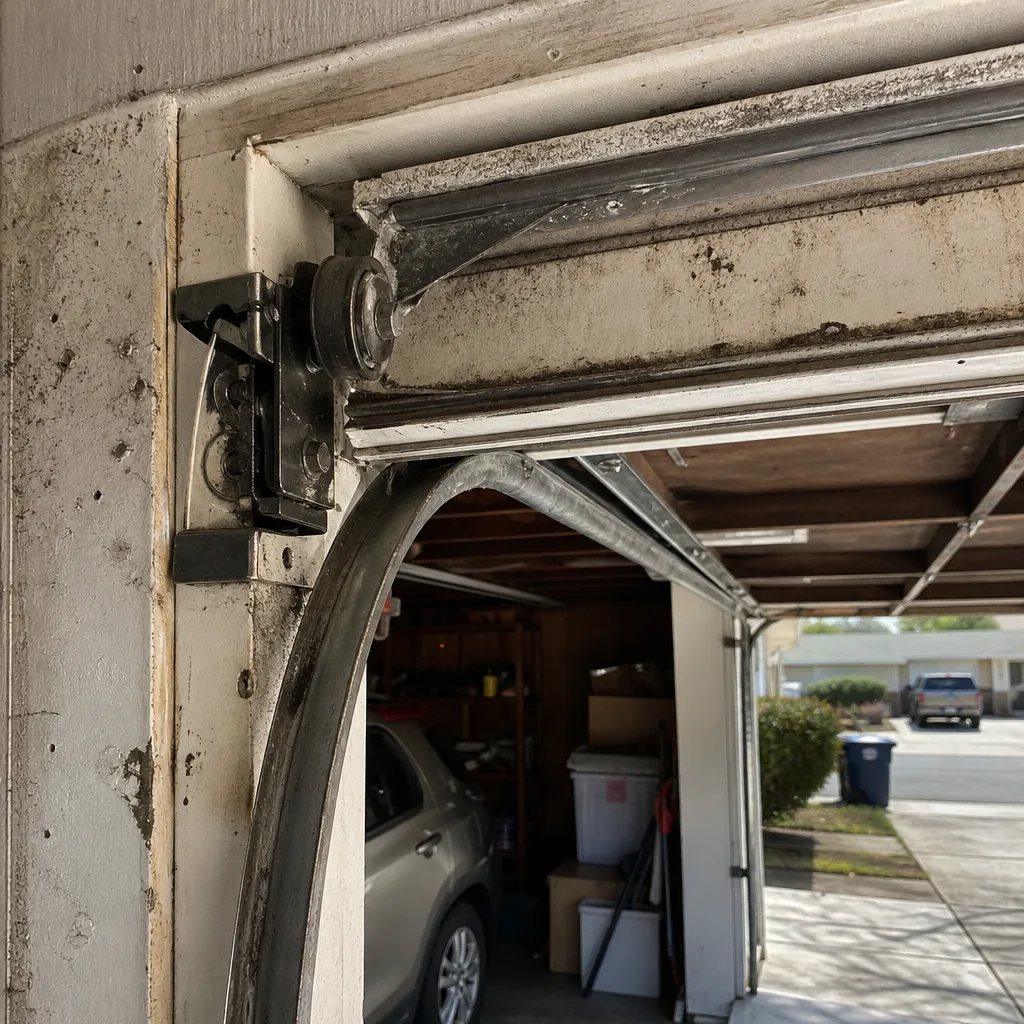 Before
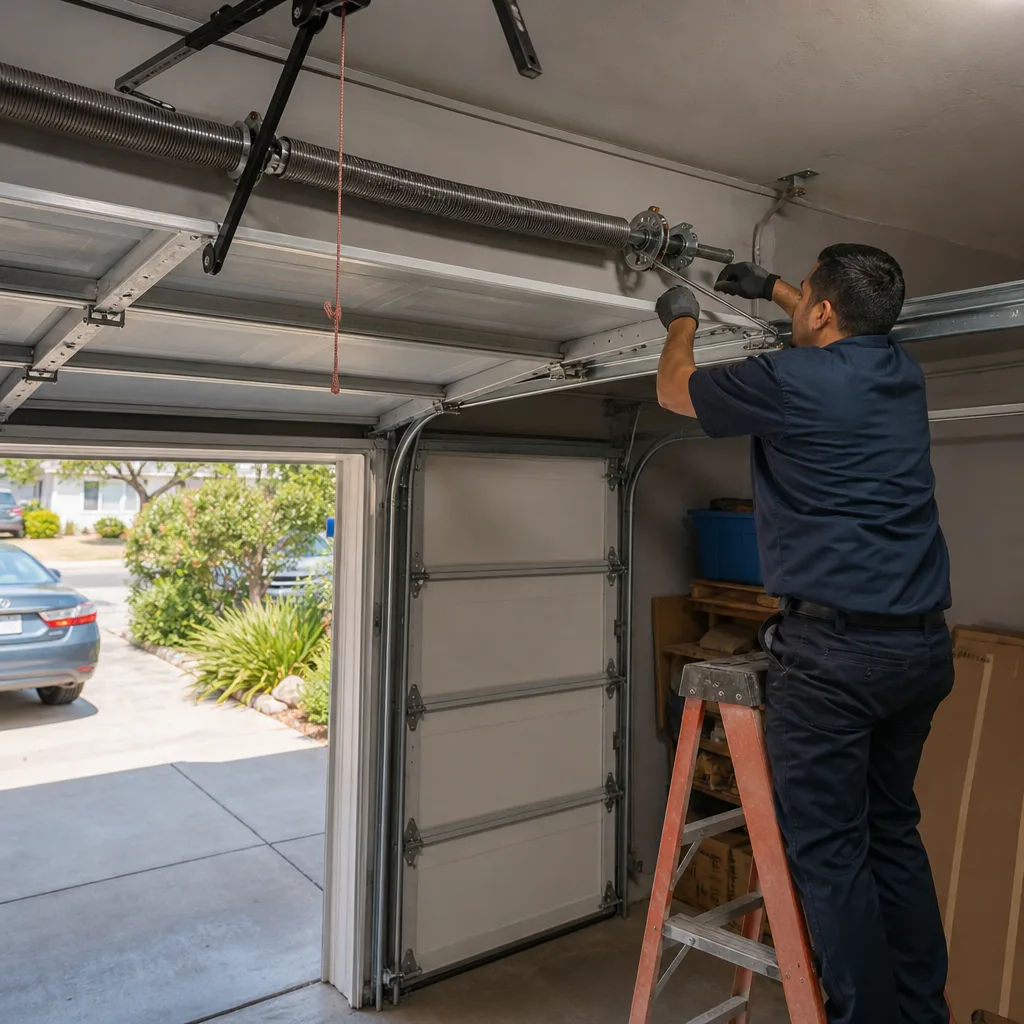 After
AfterWhen to Call a Professional
Some jobs are genuinely DIY-appropriate: lubrication, visual inspections, the balance test, the auto-reverse test, tightening a loose bolt. Others are not. Call a professional when the balance test fails and the springs need adjustment or replacement. Call when a cable is frayed or a roller needs replacing at the bottom bracket where tension is involved. Call when the door is off its tracks, when the panels are bending, or when you hear a grinding noise that lubrication doesn’t fix. And call when you’d simply rather not do any of it yourself. Marlow Garage Door Repair Torrance offers free estimates in Torrance, call (424) 999-9677 and a live person answers, 24/7. Jaylen Ross and the team will give you a written price before any work starts, so there’s no invoice surprise at the end.
Frequently Asked Questions
Twice a year is standard for most Torrance homes. If you live within two miles of the coast, add a monthly rust inspection on springs and cable fittings. Coastal salt air accelerates corrosion, and the marine layer leaves a fine salt film on exposed metal in open garages.
Use white lithium grease on hinges and roller bearings, and silicone spray on tracks, springs, and the opener chain or screw drive. Never use WD-40, which strips protective lubricant. The two products together cost under $20 at any Torrance hardware store.
A DIY maintenance session costs about $10 to $20 in supplies, mostly lubricant and cleaning rags. A professional maintenance inspection in Torrance typically runs $75 to $150 depending on the door type and age. Marlow Garage Door Repair Torrance includes a 12-point maintenance check with every service call, so you get the full checklist done whether you called for a repair or a tune-up; explore more guides & resources on our blog.
Run the balance test. Disconnect the opener with the door closed, lift the door to waist height, and release. If the door drops, feels heavy to lift, or shoots upward, the springs are failing. You may also notice the opener motor straining, the door opening slower than usual, or a visible gap in the torsion spring coil above the door.
Grinding usually means a failed roller bearing or track misalignment. The door’s 10 to 14 rollers each have bearings, and when one fails, the metal wheel grinds against the roller stem. Lubricating won’t fix it. The fix is replacing the worn roller, which is a straightforward job, except for bottom rollers attached to high-tension cables, which a professional should handle.
Yes. Since 1993, federal law requires all automatic garage door openers to reverse when they contact an object while closing. The photoelectric sensors are a secondary safety system required since 1993 as well. Running both tests twice a year keeps your opener compliant and your family safe. If either test fails, adjust the opener’s force setting or call a professional.
The Bottom Line
A garage door is the heaviest moving object in your home, and it runs on springs, cables, rollers, and tracks that wear on a predictable schedule. The maintenance checklist above: balance test, auto-reverse test, lubricant specifics, coastal rust inspection, roller and track checks, noise diagnostics, and a running log, takes about 45 minutes twice a year and prevents the vast majority of failures. For Torrance homeowners, the coastal rust factor makes spring and cable inspection slightly more urgent near the water. For everything else, consistent lubrication and the balance test do the heavy lifting. If any check fails, or if you’d rather have a professional run the full 12-point inspection, Marlow Garage Door Repair Torrance is a phone call away at (424) 999-9677. Written price first, every time.
Written by Jaylen Ross, Owner at Marlow Garage Door Repair Torrance, serving Torrance since 2002.