
Last updated October 16, 2026
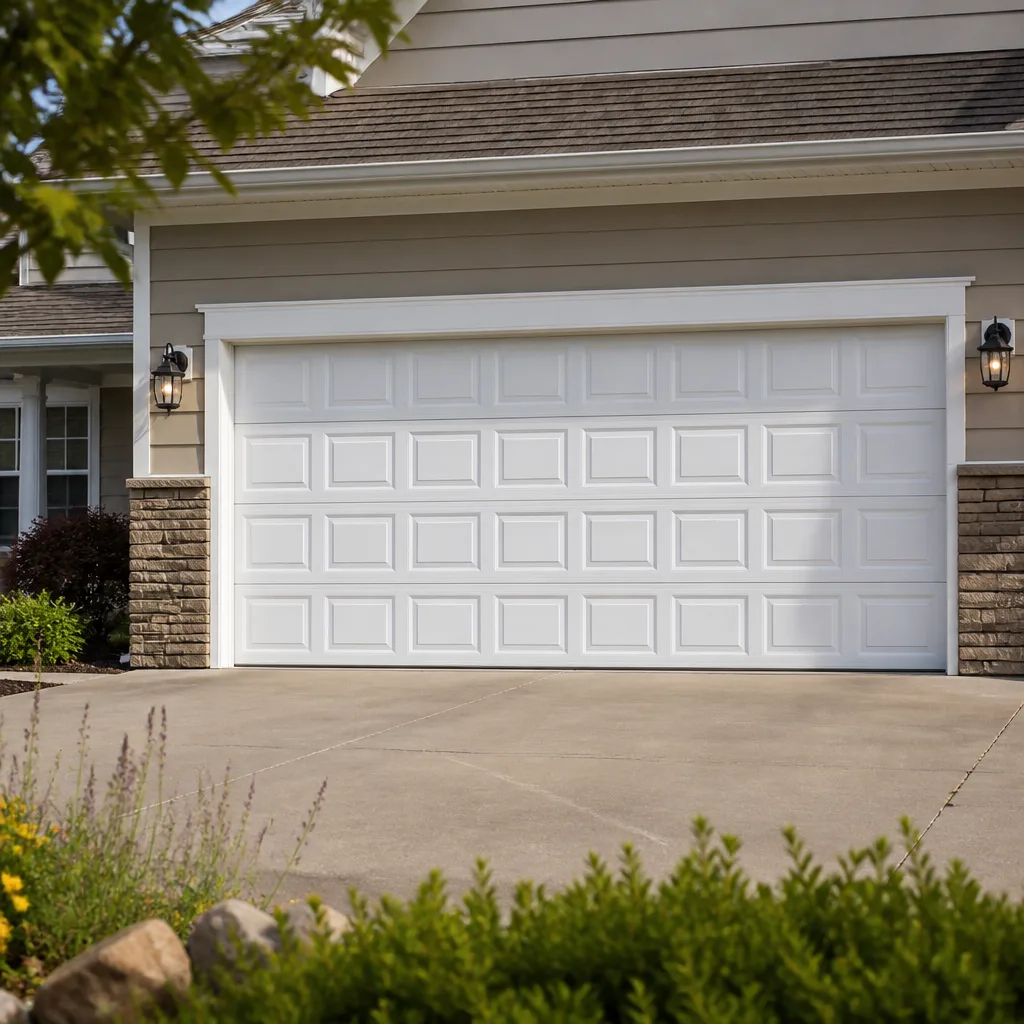 Raised-panel steel
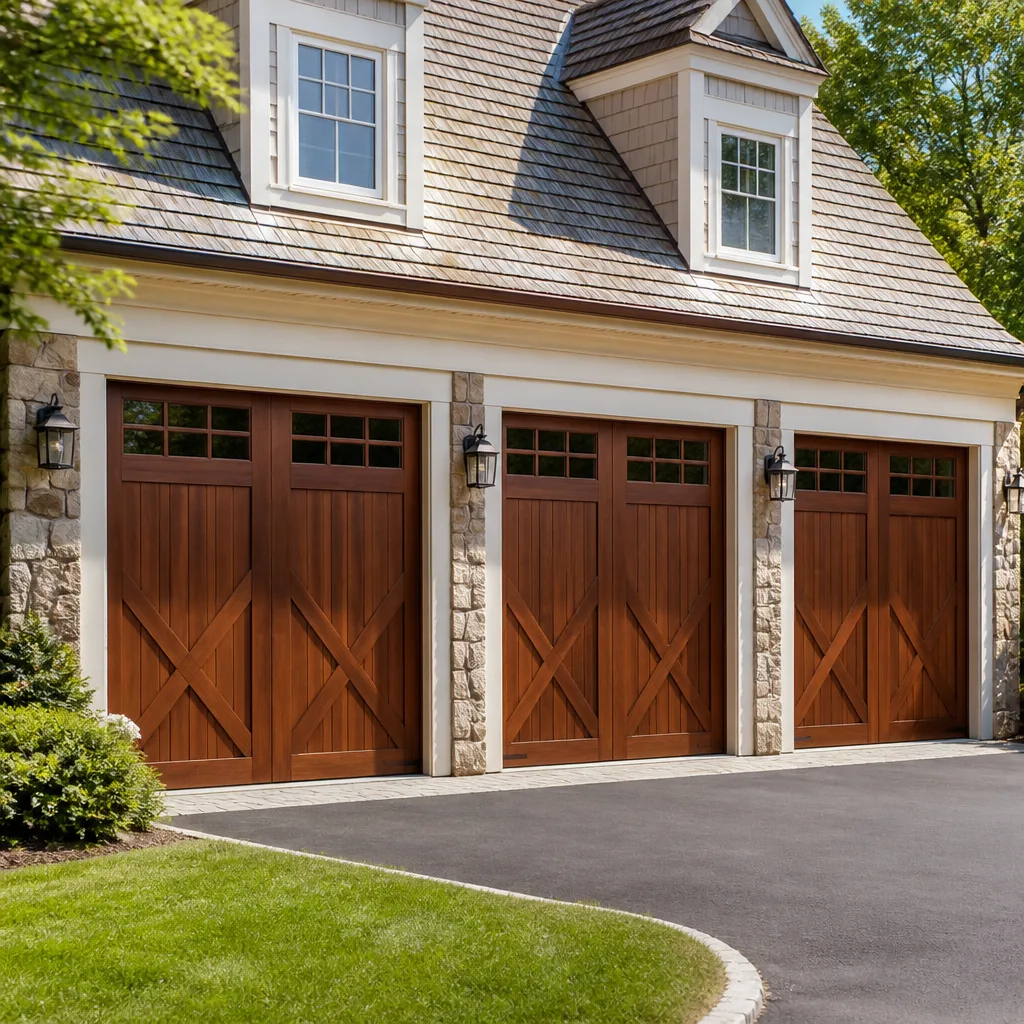 Carriage house
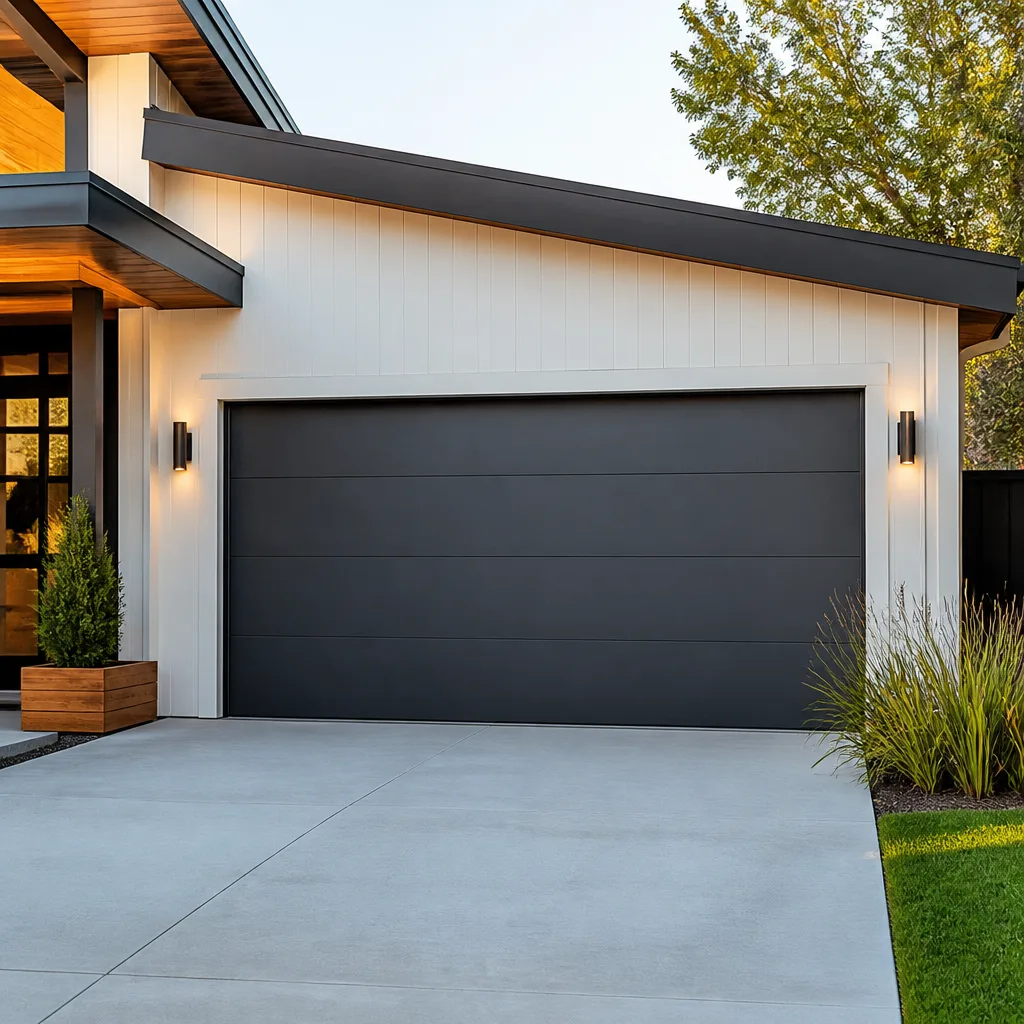 Modern flush
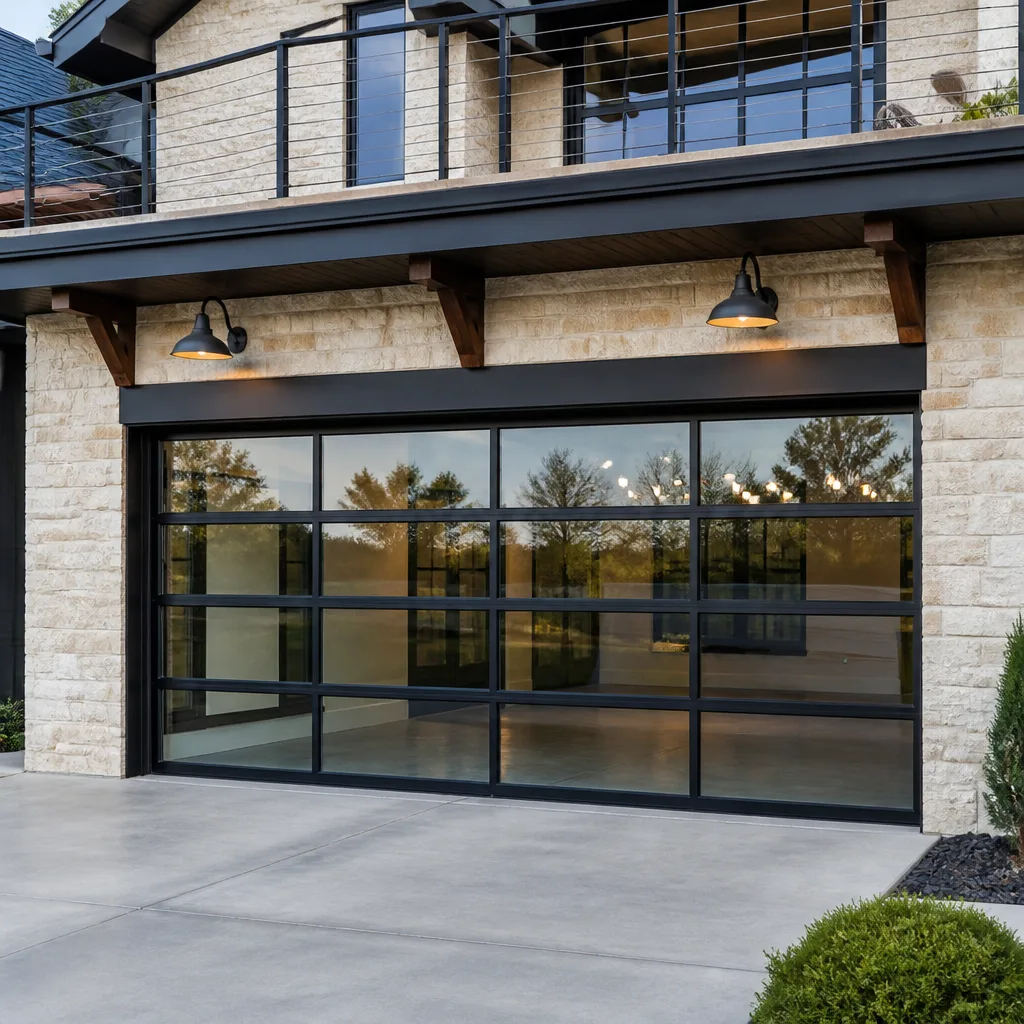 Full-view glass
 LiftMaster openers
 Chamberlain openers
Full 25-point door and opener safety check with every visit - springs, cables, rollers, tracks, and your LiftMaster or Chamberlain opener included
You get a price before we start. It does not change when the truck arrives.
Get your free estimateDIY vs Professional Garage Door: The Torrance Homeowner’s Decision Guide
A torsion spring stores roughly 150 foot-pounds of torque. That’s enough force to break a wrist cleanly if it releases while you’re holding the winding bar. Search “garage door spring replacement” on YouTube and you’ll find thousands of tutorials from confident DIYers, but scroll the comment sections and you’ll find a different story: “I’ve done this three times and the fourth one got me,” “took 11 stitches to the face,” “the bar slipped and I still can’t feel my thumb.” In Torrance, where detached garages are as common as pepper trees on Anza Avenue, the decision between DIY and professional repair isn’t philosophical. It’s a matchup between the cost of labor and the cost of an emergency room bill. This guide draws the exact line: which garage door tasks are genuinely safe for a careful homeowner, which ones are never worth the risk, and how to decide where your specific job falls. We’ll also cover what the YouTube videos never show: the real cost breakdown, the specialty tools, and the California insurance implications you inherit when you pick up a wrench.
Styles & brands we work with
Quick Answer
The DIY-versus-professional question has a clear answer, but not the one most guides pretend to give. Lubrication, sensor alignment, weatherstripping replacement, remote reprogramming, and clearing minor track debris are genuinely safe for a Torrance homeowner with basic tools and 20 minutes. Anything involving torsion springs, extension springs, lift cables, or drum adjustment is a hard no. The labor savings on spring work typically runs $150 to $290, and the injury risk is high enough that it’s irrational to attempt when professional replacement is affordable, fast, and guaranteed. DIY the safe tasks, hire out the dangerous ones.
Table of Contents
- The DIY-Safe Task List: What You Can Actually Handle
- The Hard-No List: Spring, Cable, and Drum Work
- The Real Math: What DIY Spring Replacement Actually Costs
- The Middle Path: Diagnose Yourself, Install Professionally
- Torrance-Specific Factors: Salt Air, Heat, and 1950s Construction
- The California Liability Angle: What Your Insurance Actually Covers
- Common Mistakes to Avoid
- When to Call a Professional
- Frequently Asked Questions
- The Bottom Line
The DIY-Safe Task List: What You Can Actually Handle
Before you spend a dime on a service call, there are five garage door tasks that a reasonably careful homeowner can perform safely with tools already in the garage. These jobs don’t require disassembling anything under tension, don’t involve components that can snap, and carry no meaningful risk of injury beyond maybe a pinched finger. We tell Torrance customers to do these themselves before calling us; for more guides & resources, see our full checklist. It saves them money, and sometimes it fixes the problem entirely.
1. Lubricating Moving Parts
A garage door that shrieks or groans while opening is usually dry, not broken. The fix is simple: apply a silicone-based lubricant (never WD-40, which displaces moisture and strips existing lubrication) to the hinges, rollers, and bearing plates. The parts to hit:
- Hinges at every panel joint (the metal brackets connecting each section)
- Rollers where they meet the track (the wheels running inside the vertical and horizontal rails)
- Springs, lightly, to prevent rust and corrosion
- The lock mechanism and arm pivot points
Do this twice a year in Torrance’s climate and you’ll extend the life of every moving component. The salt content in the air near the coast accelerates rust on metal parts, so homes west of Hawthorne Boulevard need lubrication more often than those east of Crenshaw.
2. Sensor Realignment
If your door reverses immediately after touching the ground, or refuses to close at all, the problem is almost always the photo-eye sensors mounted near the floor on each side of the door opening. These sensors, required on every opener since 1993, must maintain an unbroken infrared beam to allow closing. Realignment takes five minutes:
- Check the LED on each sensor. Green means the beam is aligned; red or blinking means it’s not.
- Loosen the wing nut holding the sensor bracket in place.
- Rotate the sensor body slightly toward the opposite side until the LED turns green.
- Tighten the wing nut and test the door.
Dust on the lens is another common culprit. Wipe both lenses with a dry cloth. If the sensors are loose in the bracket, the door’s vibration while operating will knock them out of alignment repeatedly; tightening the bracket solves that.
3. Weatherstripping Replacement
The rubber strip running along the bottom of your garage door cracks and degrades under Torrance’s UV exposure within three to five years. A deteriorating seal lets in rain during winter storms, dust during the Santa Anas, and worse, neighborhood rodents looking for shelter. Replacement weatherstripping costs $10 to $20 at any hardware store and installs by sliding the old strip out of the retainer channel and sliding the new one in. No tools required for most door brands, including Amarr and Clopay models that use the same T-shaped channel design.
Side weatherstripping along the door frame is similarly straightforward: pull the old stripping, clean the jamb with mild soap, press the new strip into place. These are exactly the kinds of repairs that make sense to handle yourself before reaching for the phone.
4. Opener Remote Reprogramming
When your remote stops working but the wall button still operates the door, the problem is programming, not mechanical failure. Every Chamberlain, LiftMaster, and Genie opener from the last 20 years has a “learn” button on the motor unit (usually behind or beside the light cover), and reprogramming involves pressing that button, then pressing the remote button within 30 seconds. The exact sequence varies slightly by brand, but the manual is available online, and the process takes under two minutes. No parts, no tension, no danger.
5. Minor Track Debris Clearing
If the door sticks or grinds at a specific point in its travel, inspect the tracks first. The vertical and horizontal rails collect everything: leaves, rooftop debris blown in from a storm, clumps of grass from the mower. Wipe the tracks with a cloth and check for visible dents or flattening. Debris clearing is safe. Straightening a bent track is not, because the door’s weight and the spring tension are involved. If the track is dented, that crosses into professional territory.
For anything on this list, you don’t need a technician. But the moment the problem involves a spring, a cable, or a drum, the calculus changes. Most of our Garage Door Repair in Torrance calls start with a homeowner who tried something from this safe list, found it wasn’t the problem, and then made an appointment after diagnosing farther than they should have. That’s the line, and it’s worth knowing exactly where it sits.
The Hard-No List: Spring, Cable, and Drum Work
Three garage door components account for nearly every serious garage door injury in America. They all share two characteristics: they operate under extreme tension, and they require tools and techniques that most homeowners don’t own and haven’t practiced. This is not a matter of skill level or carefulness. It’s a matter of physics.
Torsion Springs
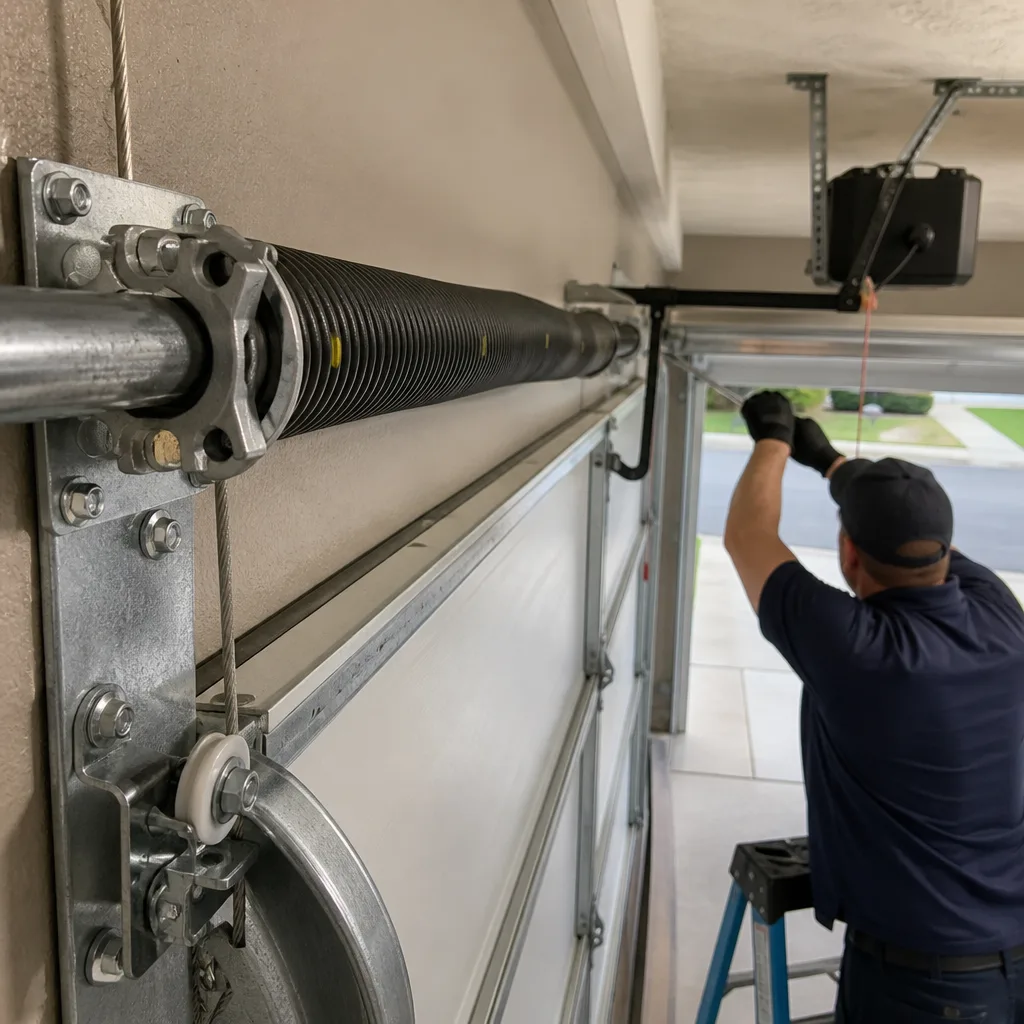
The torsion spring, the horizontal coil mounted above the closed door, is what lifts your door when the opener does its work. A typical residential torsion spring is wound to around 2,000 to 2,800 PSI of stored energy, and it transfers that energy through a shaft that rotates as the door moves. When a torsion spring breaks, it releases that energy in a fraction of a second. When a homeowner tries to wind a new spring with improvised tools like screwdrivers or pieces of rebar, the risk is worse: the winding bar can slip out of the cone, and now you have a 30-pound steel bar becoming a projectile while the spring unwinds violently.
The specialty tools required are winding bars, available but not free, and the technique requires knowing the correct number of quarter turns for the specific spring, door weight, and height. Get it wrong by one quarter turn and the door won’t balance; get it wrong by three and the opener burns out fighting an over-sprung door. This is the single most dangerous home repair task in America, and the labor savings are small. Professional Garage Door Spring Repair in Torrance runs $150 to $290 in this market, a number we’ll break down honestly below.
Lift Cables and Extension Springs
Extension springs, the long coils running perpendicular to the door on each side, are less dangerous than torsion springs but still under enough tension to cause serious injury when they snap. The lift cables, the steel cables that run from the bottom brackets over the pulleys, are equally dangerous because they’re load-bearing. When a cable frays and snaps while you’re working near it, the cable whips with enough force to cut. And unlike a spring replacement, cable work requires removing and re-tensioning the entire spring system to safely replace, which is the exact job you were trying to avoid.
In our experience, cable failures in Torrance homes are often accelerated by the same coastal salt air that eats car exteriors. Cables that would last 10 years in Arizona last 6 or 7 here, especially in homes within two miles of the coast. A frayed cable advisory is our Garage Door Cable Repair in Torrance bread and butter, and it’s never a DIY job.
Drums and Drum Adjustment
The cable drums, the spools at each end of the torsion shaft that wind the lift cables, are not repairable by anyone except a professional. Drum replacement requires unwinding the torsion spring completely, a step that is itself the most dangerous part of any garage door repair. Adjustment is the same: you’re working on a system under full torsion load while manipulating the components that keep the door balanced. One slip here and the entire tension system releases at once.
The principle that should guide you: if a component is under tension when the door is closed, you don’t touch it. The DIY-safe list above consists entirely of components that are inert when the door is stationary. The hard-no list consists entirely of components that could move on their own if something slips. That’s not a skill line. It’s a physical safety line.
The Real Math: What DIY Spring Replacement Actually Costs
The standard argument for DIY spring replacement is financial: a professional charges for labor, so doing it yourself saves money. The argument breaks down when you actually add up the costs, including the ones no YouTube tutorial mentions. Here’s the honest accounting.
What the Professional Charges
In the Torrance market, a professional torsion spring replacement typically runs $150 to $290, depending on the spring type, door weight, and whether it’s a single-spring or dual-spring system. That includes the spring, the labor, the disposal of the old spring, and a warranty on the work. Marlow Garage Door Repair Torrance pairs that number with a written price before any work begins, so there’s no invoice surprise at the end.
What the DIY Attempt Actually Costs
- Replacement spring: $40 to $80, depending on length, wire diameter, and whether you buy online or locally.
- Winding bars: $20 to $40 for a pair, and you’ll use them once.
- Additional tools you may not have: C-clamps to lock the door, a socket set, gloves rated for pinch protection, and safety glasses. Assume $30 to $50 if you’re starting from scratch.
- Your time: The realistic first-time installation is 3 to 4 hours, including watching tutorials, measuring the old spring to order the right replacement, and troubleshooting when the door doesn’t balance. At a conservative hourly value, that’s another $100 to $150 in opportunity cost.
- The probability-weighted ER cost: A study the U.S. Consumer Product Safety Commission conducted left no doubt: garage door spring installation sends people to emergency rooms every year, with injuries ranging from deep lacerations to broken wrists and worse. Even if you accept a 5% injury probability (which is generous for a first-timer), and a modest $1,500 ER bill, the expected cost is $75. That’s the number no tutorial prices in.
Add those up: $40 to $80 for the spring, $20 to $40 for bars, $30 to $50 for other tools, $100 to $150 in time, and $75 in expected injury cost. The total runs $265 to $395. The professional costs $150 to $290 and includes a warranty. The financial argument for DIY springs does not survive contact with arithmetic.
Our position is not that homeowners can’t learn to do this. Plenty of people have. It’s that the expected cost of learning is higher than the cost of hiring, and the learning curve has a real chance of ending in an urgent care waiting room.
The Middle Path: Diagnose Yourself, Install Professionally
There’s a legitimate middle ground between “do everything yourself” and “call the tech and stay out of it.” It’s the path where you handle the diagnosis, the parts research, and the prep work, then hand off the actual install to a professional. This approach reduces labor time and cost in real ways, and it gives you more control over the outcome without putting you in physical danger.
What You Can Do
- Identify the broken part. Look at the system with the door closed. The spring will have a visible break if it’s broken, usually a two-inch gap in the coil near the center or at the mounting cone. Cables will show fraying if they’re wearing out. Rollers will wobble or show flat spots. Determine exactly which component failed.
- Find the part number and measurements. Torsion springs have critical measurements: wire diameter, inside diameter, length, and wind direction. These are often printed on the spring cone or readable by measuring the old spring. The door’s model and manufacturer are on a sticker on the panel, usually near the bottom or top edge. Write down the brand: Clopay, Raynor, Amarr, Wayne Dalton, whatever it says.
- Photograph everything. Take clear photos of the spring cones, the cable routing, the drum positions, and the door’s balance point. These photos are useful when you call for pricing, and they help you understand what the technician will be doing.
- Order the part if you want to save on markup. If you’re comfortable ordering a spring with specific measurements from an online supplier, you can. Not every homeowner is, and that’s fine. But sourcing your own Raynor or LiftMaster component is a legitimate way to save money, and any honest professional will install a part you provide, with the understanding that the labor warranty still applies.
What You Should Not Do
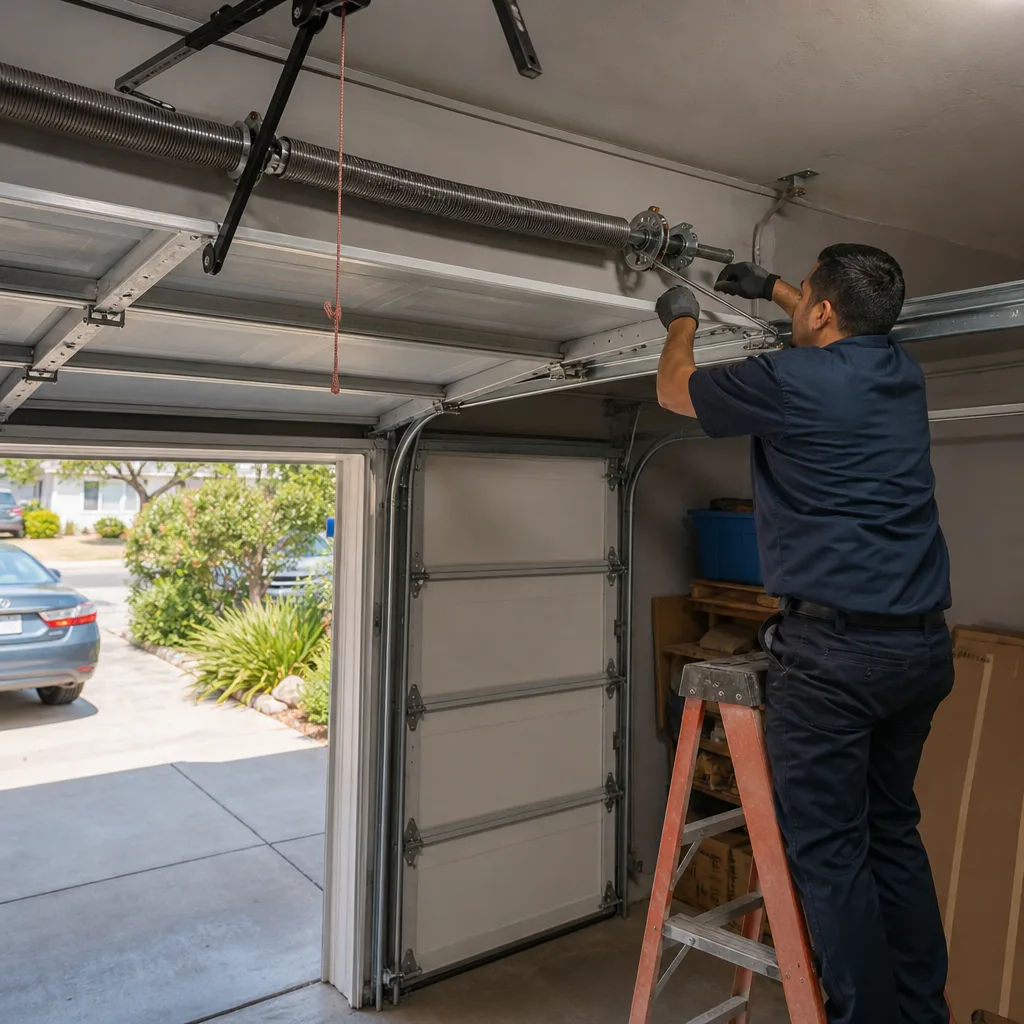
The moment the job requires unwinding anything, winding anything, or disconnecting anything under load, the middle path ends. You’ve done the diagnostic work, you’ve saved the technician 20 minutes of inspection time, and now a professional handles the 30 to 45 minutes of installation. In Torrance, most of our repeat customers use this exact model: they tell us exactly what’s wrong, they’ve measured the door, and they just want the job done same day. That’s a smart workflow, and it’s one we’ve never seen produce an injury.
Torrance-Specific Factors: Salt Air, Heat, and 1950s Construction
Torrance is not a generic Southern California suburb. The specific conditions here affect how often garage door parts fail, which components fail first, and how you should approach repair decisions. Understanding these local factors helps you make better maintenance and repair choices.
First, the coastal salt air. Homes west of Hawthorne Boulevard, in the Hollywood Riviera, Southwood, and Seaside neighborhoods, sit within two miles of the Pacific. Salt accelerates corrosion on every metal garage door component: springs rust faster, cables fray sooner, hinges seize. A spring set that lasts 10 years in inland Torrance might last 6 or 7 near the coast. In our experience, rusted torsion springs are one of the most common service call drivers in the Riviera side, and the fix is the same as inland, but the preventive maintenance interval should be shorter. Lubricate more often, and inspect cables twice a year if you live within sight of the water.
Second, the heat pattern. Torrance average summer highs run in the mid-70s to low-80s, mild compared to the Inland Empire. But our garages are mostly uninsulated, and those attached garages on 1950s and 1960s homes in Old Torrance and Walteria trap heat. The heat ages the opener’s plastic gears and can warp the photo-eye sensor housings over time. If your garage door opener is more than 15 years old and you’re noticing intermittent failures, the heat is likely a contributing factor.
Third, the housing stock. A large percentage of Torrance’s homes were built between 1950 and 1975, and many still have their original carriage-house style doors or early fiberglass models. Raynor, a less visible brand nationally, has unusually high penetration in Torrance’s older homes, followed by Genie in the 1980s construction wave and LiftMaster in newer builds. Knowing your door’s brand matters because parts compatibility is not universal. A Chamberlain spring does not necessarily fit an old Raynor door, and the technician who knows the difference is going to do better work than the one who shows up with whatever’s in the truck. Marlow technicians are factory-trained on eight brands, including Raynor and LiftMaster, precisely because Torrance’s housing stock is so varied.
Finally, the municipal angle. Torrance requires permits for structural alterations to a home, but routine garage door repair and replacement does not require a permit; see Garage Door Permits, Codes & Inspections in CA: What You Need to Know for the full picture. What does require attention: if you’re in a designated historic district like Old Torrance, the city’s preservation guidelines may affect what kind of door you can install as a replacement. That’s a replacement question, not a repair question, but it’s worth knowing before you order a new door.
The California Liability Angle: What Your Insurance Actually Covers
California homeowners insurance policies contain specific exclusions that most homeowners never read until after an incident. The DIY garage door repair conversation has a liability dimension that gets ignored in forums and mostly avoided in tutorials. Here’s what you actually need to know.
Standard California homeowners policies cover accidents on your property, including injuries to guests, under the liability coverage section. That coverage applies whether or not the injury involved a garage door. What changes with DIY repair is not the guest coverage. It’s the property damage and medical payments angle, and it’s the question of negligence.
If you replace a torsion spring yourself and the repair fails, causing the door to fall on your car, your homeowners policy may deny the claim on the grounds that the damage resulted from work performed by an unlicensed person. California insurance regulations allow insurers to exclude damage caused by “unlicensed work” in certain circumstances, particularly when the work required a contractor’s license and you performed it yourself. Garage door spring replacement is not a licensed trade in California, so that exclusion typically doesn’t apply. But if the repair fails and injures a neighbor or a guest, your liability insurance will likely cover the claim, but at the cost of a rate increase and a recorded incident. The insurance company may also argue that your failure to hire a professional constituted negligence, which in a worst-case scenario could exceed your policy limits. That’s a meaningful tail risk.
The clearer issue: if you hire a professional and their work fails, their insurance and warranty cover the outcome. That’s what licensing and bonding exist to transfer. Marlow’s 365-Day Done Right Promise states in writing that we’ll return free of charge if a repair doesn’t hold, which is exactly the liability transfer a homeowner should want. The bottom line: DIY spring work doesn’t invalidate your insurance, but it does open a negligence question that simply doesn’t exist when a professional handles the repair.
Common Mistakes to Avoid
- Using WD-40 on garage door parts. WD-40 is a solvent, not a lubricant. It strips existing grease and leaves metal components dry within a week. Use a silicone spray or white lithium grease on hinges, rollers, and springs. This is the single most common mistake we see in Torrance garages.
- Trying to replace a spring with improvised tools. Screwdrivers, rebar, crowbars, hex keys: all of these have been used as winding bars, and all of them slip. The cone socket needs the specific diameter of a proper winding bar to hold under full tension.
- Replacing one spring when you have two. If your door has two torsion springs and one breaks, the other is near the end of its life too. Replacing only the broken one means a second service call within a year. Most professionals recommend replacing both, and the incremental cost is modest.
- Testing the door’s balance with the opener disconnected and the door in the wrong position. Never test a door by hand with it halfway up if you’re unsure of the spring condition. The door can drop. If you’re checking balance, test it at the fully open position and the fully closed position only.
- Ignoring a frayed cable. The cable warning sign is visible: a few broken wires near the bottom bracket. The cable will snap under load eventually, and when it does, the door will come down hard, or the cable will whip. A frayed cable is a fix-today repair, not a watch-it situation.
- Forgetting that the door’s weight can change. Adding insulation, a new coat of paint, or replacing a wooden panel with a thicker one changes the door’s weight and demands a spring adjustment. In Torrance, where older doors are often repainted multiple times over decades, that added paint weight is real.
- Attempting a repair without disconnecting the opener and locking the door in place. If the opener is still engaged while you’re working on the tracks or springs, a false signal can cause the door to move unexpectedly. Pull the red release handle and clamp the track with C-clamps before doing any inspection near the springs or cables.
When to Call a Professional
You should call a professional the moment the job involves a torsion spring, an extension spring, a lift cable, a cable drum, or a visibly bent track. These are the components that cause injuries and property damage when they fail, and they all require either specialty tools or practiced technique, or both. You should also call if your door has become too heavy to lift manually with one hand: that imbalance almost always indicates a spring that’s failing or miscalibrated, and the failure tends to be sudden. And if you’ve attempted a repair from the safe list and the problem persists, it’s time to stop diagnosing and start making the call. Marlow Garage Door Repair Torrance offers free estimates in Torrance, with live phone support at (424) 999-9677 and online booking that takes about 30 seconds. You’ll get a written price before any work begins, and the 365-Day Done Right Promise in writing on every repair.
Frequently Asked Questions
Professional torsion spring replacement in Torrance typically runs $150 to $290, depending on spring type, door weight, and whether one or both springs need replacement. Spring repair includes removal of the old spring, installation, balancing, and a warranty in writing. The exact number is always quoted and agreed before any work starts. Call (424) 999-9677 for a free estimate with a written price.
You can, but you shouldn’t. The spring holds enough energy to cause serious injury if it unwinds unexpectedly, and the specialty winding bars plus the learning curve, plus the ER risk make the expected cost higher than paying a professional $150 to $290. The dangerous part isn’t intelligence or carefulness; it’s that the physics don’t care about either.
Lubricating hinges, rollers, and springs; realigning photo-eye sensors; replacing bottom and side weatherstripping; reprogramming opener remotes; and clearing debris from tracks. These are all components that are inert when the door is stationary, so they can’t injure you during the work.
For a standard residential torsion spring replacement, a trained technician typically completes the job in 30 to 45 minutes from start to finish, including balancing the door and testing the opener. That’s the time you’re paying for when you hire a professional, and it’s why the labor cost is reasonable.
Your health insurance covers your own injuries regardless of cause. Your homeowners liability coverage will generally cover injuries to guests even after a DIY repair, but the insurer may argue negligence if the work should have been performed by a professional, which can affect the claim outcome and your future premiums.
Marlow Garage Door Repair Torrance is factory-trained on eight garage door brands: LiftMaster, Chamberlain, Genie, Clopay, Amarr, Wayne Dalton, Craftsman, and Raynor. If your door is one of these, the technician arriving already knows your specific model’s parts and quirks. If it’s another brand, we service those too, with the same written-price guarantee and 365-Day Done Right Promise.
Book online in under a minute through the Marlow Garage Door Repair Torrance site, or call (424) 999-9677 to speak with a live person 24/7. You’ll receive a live arrival window you can track, a written price before work begins, and a digital invoice you can pay from a link with your phone.
The Bottom Line
The DIY-versus-professional garage door question resolves itself cleanly once you separate the components that can hurt you from the components that can’t. Lubrication, sensor alignment, weatherstripping, remote programming, and track cleaning: do these yourself, save the service call, and feel good about it. Torsion springs, extension springs, lift cables, drums, and bent tracks: these are the jobs where the financial savings are smaller than they look and the injury risk is larger than you think. In Torrance, where the coastal air eats metal parts faster than inland and the housing stock spans 70 years of different brands and door types, the smart homeowner picks up the silicone spray for the safe jobs and picks up the phone for everything else. The line is clearer than most guides & resources admit, and the moment you’re on the wrong side of it, the math stops making sense.
Written by Jaylen Ross, Owner at Marlow Garage Door Repair Torrance, serving Torrance since 2002.
See the difference
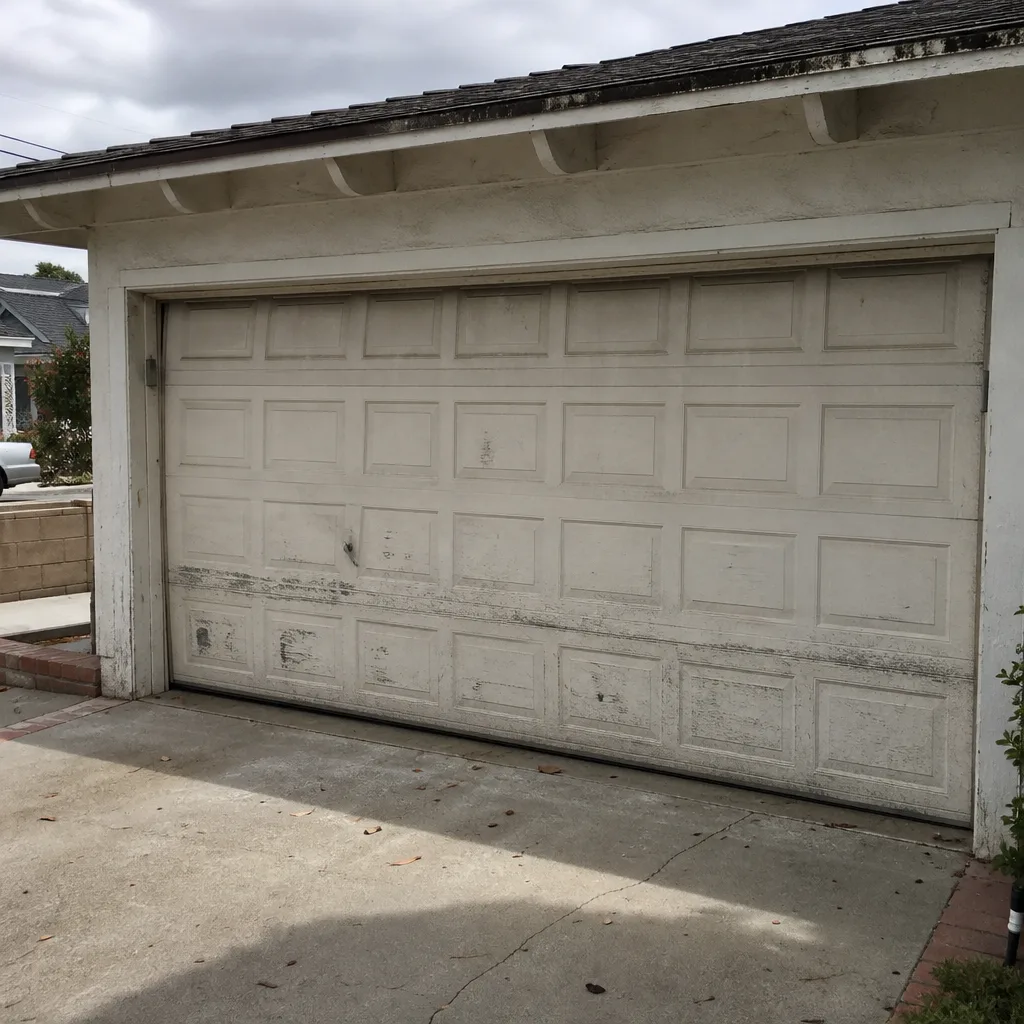 Before
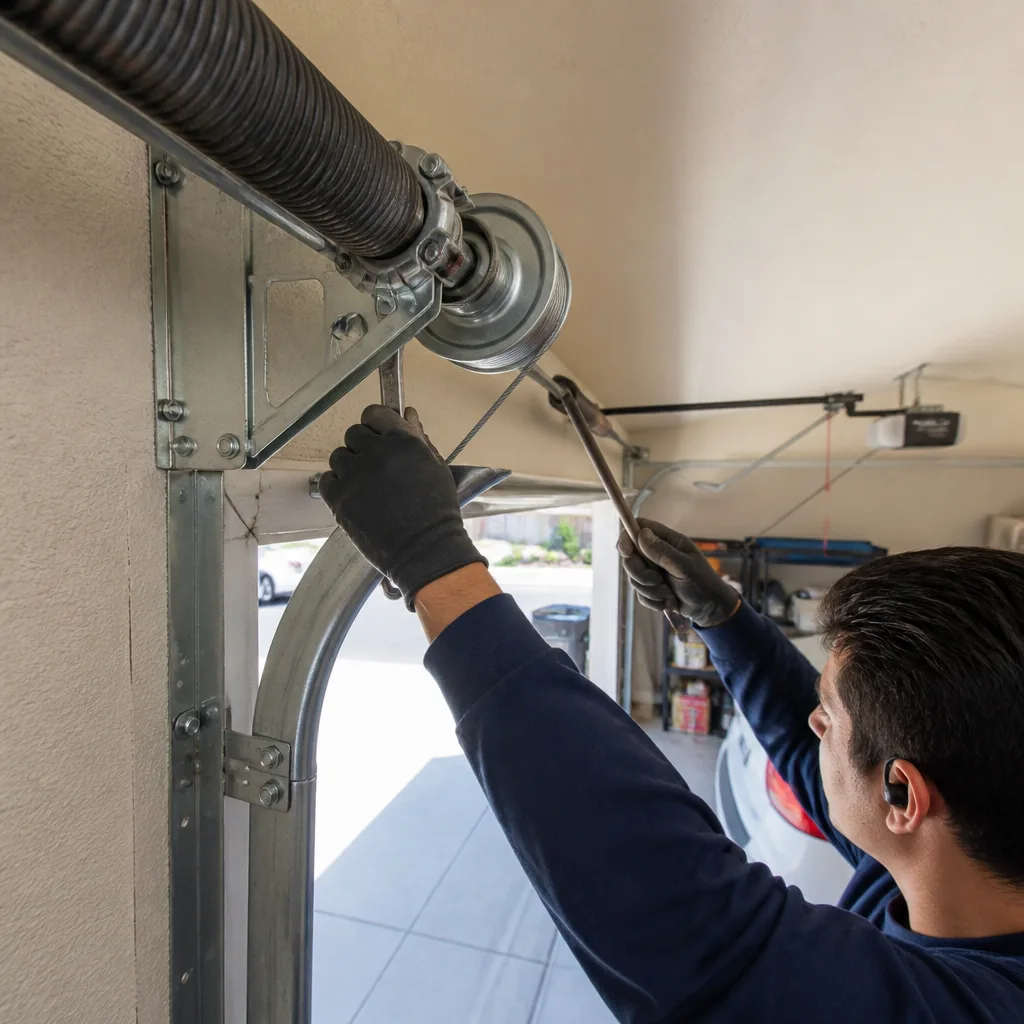 After
After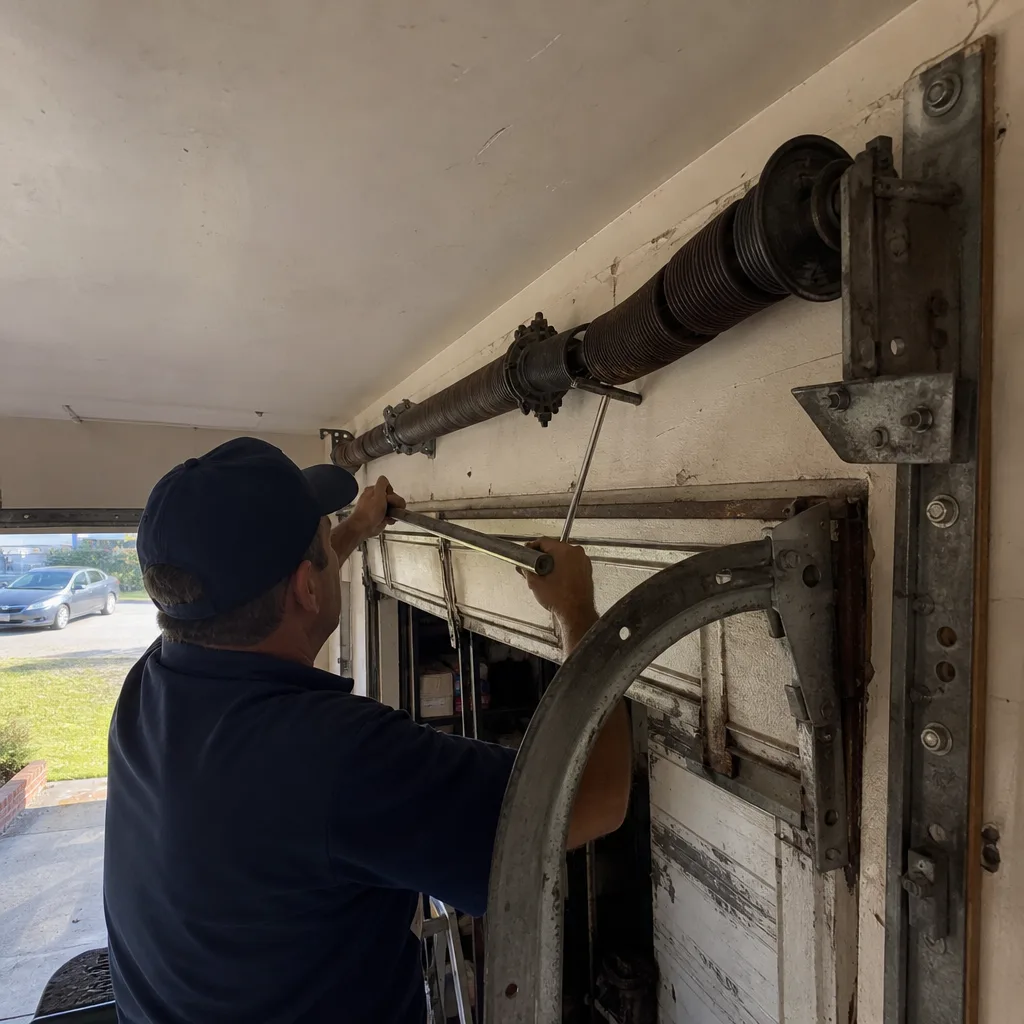 Before
 After
After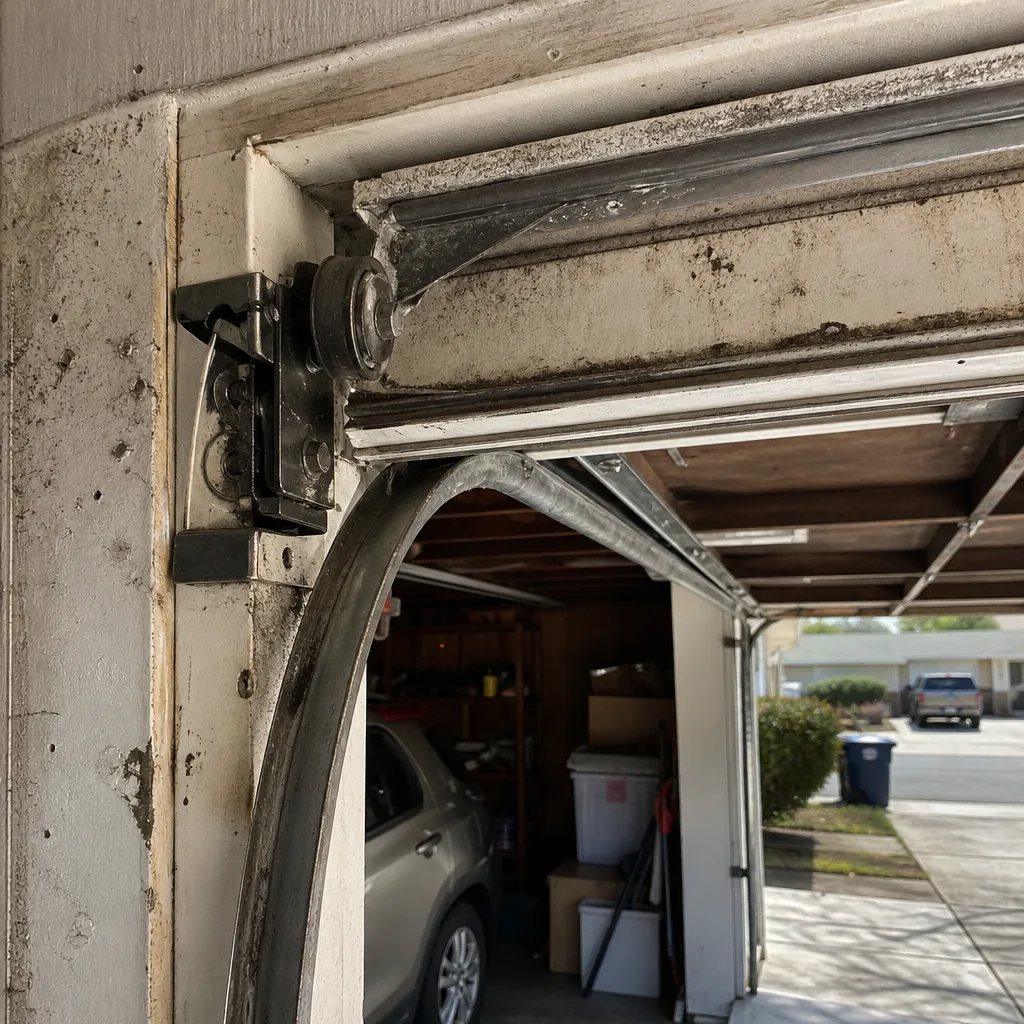 Before
 After
After